
WinPicks Reference Manual
Section 3.1. Selecting Menus and Menu Items
The WinPicks menu names are printed near the top of the screen as shown in Figure 3.1. The menu names are FILE, EDIT, DATABASE, VIEW, PREDICT, CONSENSUS, TRENDS, ADD-INS (Pro Football Analyst only), and HELP. You can activate a menu by selecting it with the keyboard or a mouse.
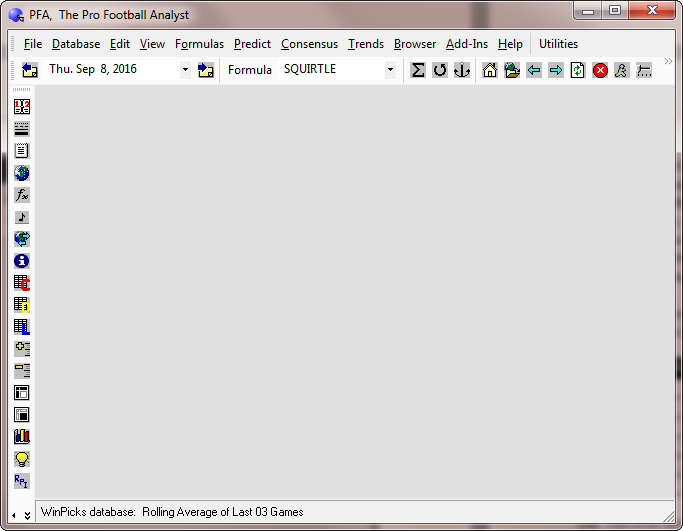
Figure 3.1 - The Main WinPicks Screen (PFA)
Windows was designed to work with a mouse, and you'll probably find that using the mouse is the easiest way to use WinPicks. However, if you wish, you can use WinPicks by using the keyboard. Or, you can switch back and forth between the mouse and the keyboard. In this section, we'll take a brief look at how you can use either the mouse or the keyboard to select menus and menu items.
Using the Mouse
When you use WinPicks with a mouse, a small arrow will be present on your display. This is the mouse pointer. When you move the mouse, the mouse pointer will also move. To see this, move the mouse and watch the mouse pointer move around the screen. If the mouse pointer changes to an hourglass, it means that WinPicks is performing some task that will take a few moments to complete.
To select a menu with the mouse, you need to move the mouse pointer so that it "touches" one of the menu names. For example, to select the FILE menu, move the mouse pointer so that it touches the word File on the top part of your screen. The mouse pointer can touch any part of the menu name. When the mouse pointer is still touching the menu name, click (press and release) the left button on the mouse.
To select a menu item with a mouse, move the mouse pointer to the item you want and click. To exit a menu, move the mouse pointer to an area outside of the menu, and click any mouse button. You will return to a screen where no menus are displayed.
Using the Keyboard
To select a menu with the keyboard, hold down the ALT key and then press the first letter of the menu that you want. For example, to select the FILE menu, hold down the ALT key and press the F key (F is the first letter in the word FILE). The notation for this is ALT-F. To select the DATABASE menu press ALT-D, to select the VIEW menu press ALT-V, and so on.
Once a menu is displayed, you can display the next menu by pressing the arrow keys. LEFT ARROW displays the next menu to the left, and RIGHT ARROW displays the next menu to the right. The menus are displayed in a circular fashion. You can see this by holding down either LEFT ARROW or RIGHT ARROW. The menus will quickly move by on your display. When you go past either the left or right side of the screen, you will jump to the other side. To return to a screen with no menus displayed, press ESC.
Once you select a menu, there are at least two (and sometimes three) ways to select a menu item using the keyboard. The first way is to use the arrow keys. Whenever you have a menu displayed, you can scroll through the items on the menu using UP ARROW and DOWN ARROW. When the menu item you want is highlighted, press ENTER. The second way is to press the underlined character within each menu item. The indicated key is usually (but not always) the first character in the menu item name. For example, the VIEW menu shows that the T in TEAM INFO is underlined. You can select TEAM INFO by pressing the T key.
Many of the reports displayed in WinPicks are too large to fit on one screen, making it necessary to scroll down to view the entire report. To jump directly to the item in the report that you are looking for (such as a team name), type CTRL-F to use the built-in search function.
There are also some menu items that you can select by pressing a function key. The table below lists these menu items. Each menu item is discussed in detail elsewhere in this manual.
Function Key |
Function |
|---|---|
F1 |
Help |
F5 |
Previous View |
F6 |
Next View |
F7 |
Previous Date |
F8 |
Next Date |
F9 |
My Formulas |
The function keys listed above are hot keys. You can use them without selecting a menu. For example, NEXT VIEW is located on the VIEW menu, but you do not have to select that menu in order to use NEXT VIEW. You can always select NEXT VIEW by simply pressing F6.


